How to Prepare Your Loft for Insulation Installation

Preparing Your Loft for Insulation Installation
Before installing new loft insulation, proper preparation is key to ensure safety, efficiency, and the best energy-saving results. Whether you’re upgrading old insulation or fitting it for the first time, taking time to get your loft ready can make the installation smoother and more effective.
Here’s Snug Lofts step-by-step guide to preparing your loft space.
Clear Out Your Loft Safely
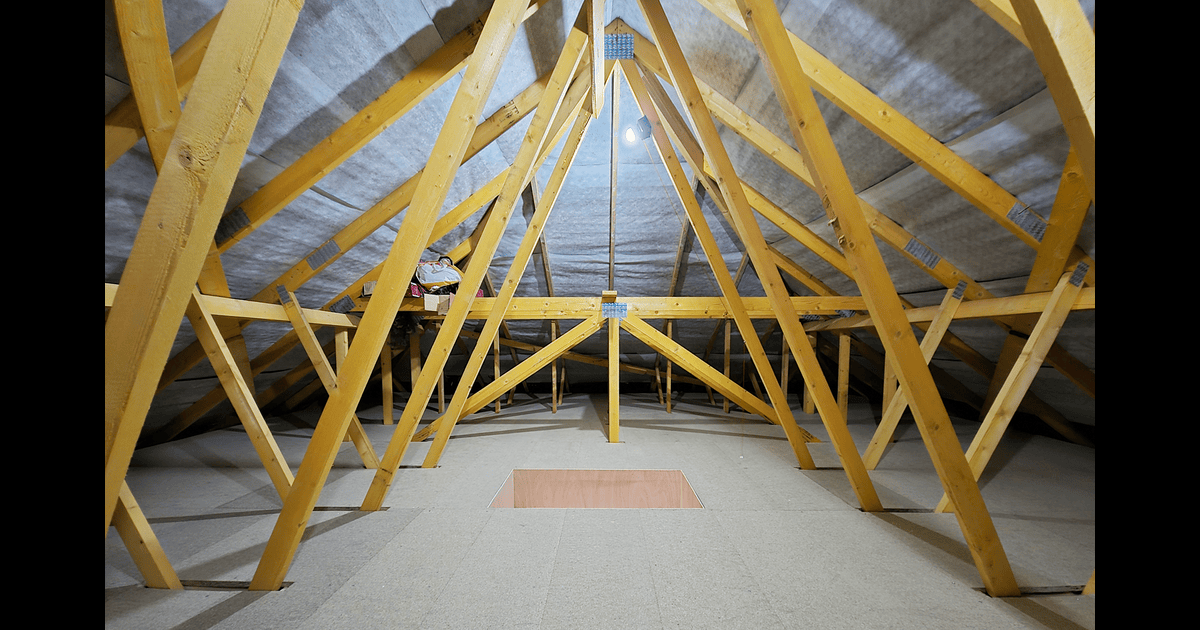
Start by removing any stored items so your loft is completely clear.
This allows your installer to work efficiently and ensures insulation is laid evenly across the whole area.
✅ Tips for safe clearing:
- Wear gloves and a mask to avoid dust or insulation fibres.
- Use a sturdy ladder and good lighting.
- Avoid overreaching or stepping between joists (use loft boards or crawl boards for support).
💡 Pro tip: If you plan to reinstall storage later, discuss raised boarding options with your installer — so you can keep full insulation depth.
Check for Damp or Leaks
Before any insulation is installed, your loft must be dry and well-ventilated.
Damp or roof leaks can cause insulation to become less effective over time.
Inspect:
- Roof tiles or felt for damage
- Rafters and timbers for dark patches or mould
- Pipes or water tanks for condensation
If you find issues, fix them before installation — Snug Lofts can advise or recommend trusted local trades.
Identify Wiring and Fixtures
Electrical wiring often runs through lofts.
To keep things safe, identify where cables, junction boxes, or recessed lights are located.
Installers can then ensure safe clearance around electrical fittings and avoid covering them with insulation.
⚡ Important: Insulation should never be placed directly over downlights or transformers — heat buildup can be a fire risk.
Seal Air Gaps and Draughts
Small gaps around loft hatches, pipework or ceiling joints can cause warm air to escape into your loft — reducing insulation performance.
Use expanding foam or sealant to block these gaps before insulation is laid.
This improves airtightness and helps keep your home warmer for longer.
Plan Loft Access and Safety
Before installation, check that your loft ladder is safe and stable.
Adequate lighting and a solid walkway (temporary boards) make access safer for both you and installers.
If your ladder is old or awkward to use, Snug Lofts can replace it with a modern, insulated model for easy and secure access.
Measure Insulation Depth Requirements
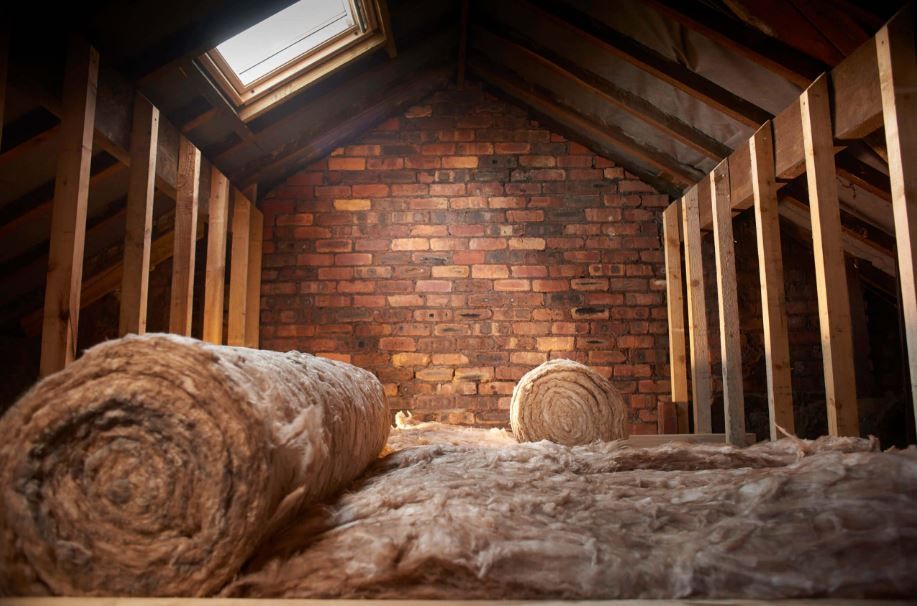
The UK’s current recommended insulation depth is at least 270mm for mineral wool insulation.
Older homes often have less than half that.
Your installer will assess your existing insulation and top it up or replace it entirely for maximum performance.
💡 Snug Lofts always ensures insulation meets or exceeds current Building Regulations Part L standards.
Make Space for Future Storage (Optional)
If you plan to use part of your loft for storage, plan this in advance.
You can have a section boarded over raised supports to keep insulation uncompacted underneath — preserving its thermal performance.
Discuss your storage needs during your survey so Snug Lofts can tailor your insulation layout perfectly.
Get Your Loft Ready for Energy Savings!
Snug Lofts provides free surveys and expert advice to help you prepare your loft for safe, efficient insulation.
Serving homes across Birmingham, Wolverhampton, Walsall, Dudley, Solihull, Sutton Coldfield, Coventry, Nuneaton, Tamworth, Cannock, Lichfield, Redditch, Stourbridge, Halesowen, and West Bromwich.

